2 in stock
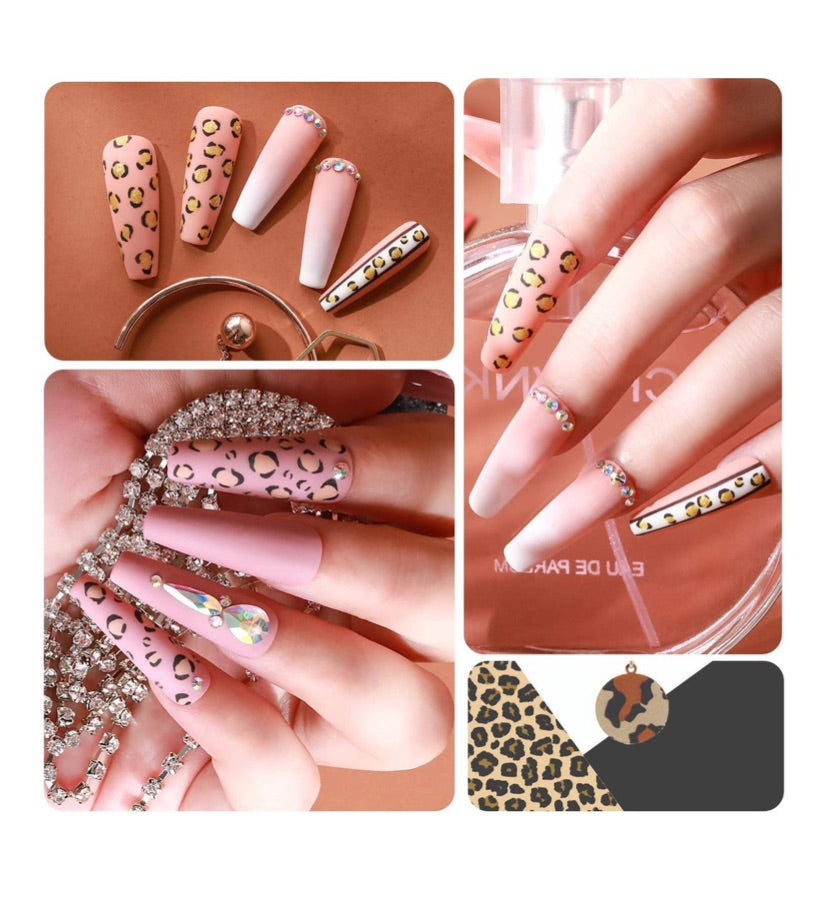
Styleberry Nail Art Gel Polish Set – Leopard Collection
Styleberry Nail Art Gel Polish Set – Leopard Collection
Couldn't load pickup availability
Styleberry Nail Art Gel Polish Set – Leopard Collection
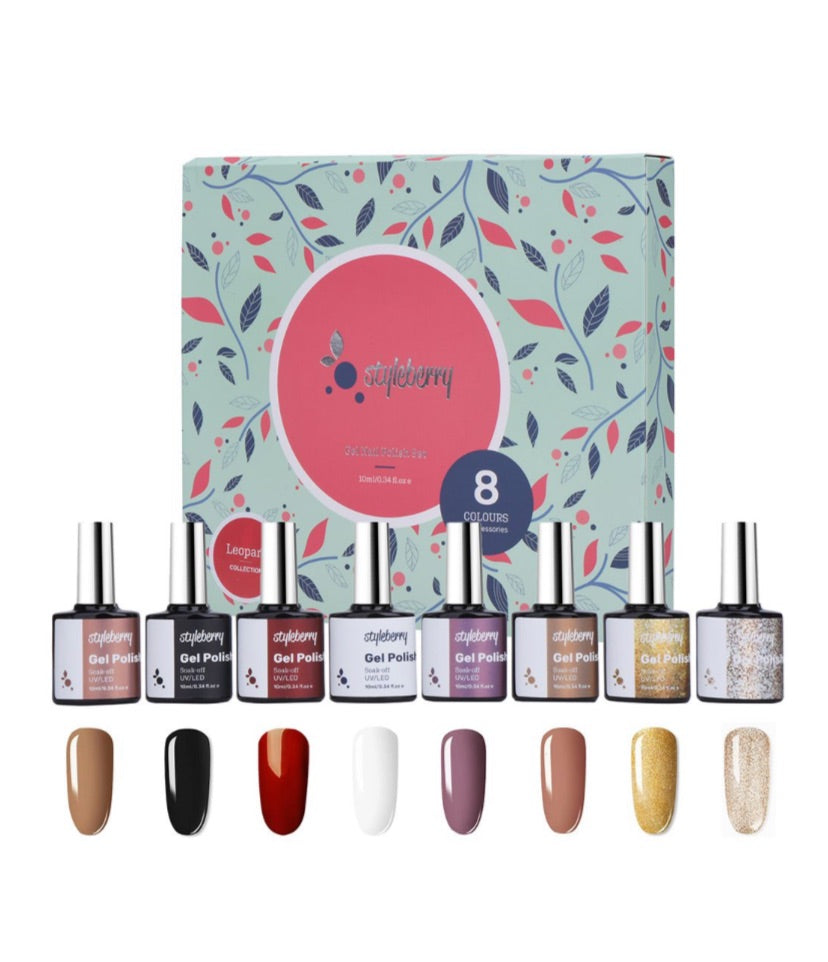
Unleash your fierce and fashionable side with the Styleberry Nail Art Gel Polish Set – Leopard Collection. Perfect for both professional salons and at-home manicures, this trendy collection features bold, leopard-inspired shades designed to make your nails stand out. Crafted with salon-quality ingredients, it ensures a stunning, durable finish that lasts up to 25 days with proper curing, giving you long-lasting, chip-resistant nails. The set includes everything you need—from vibrant gel colors to creative nail art tools—making it suitable for beginners and pros alike.
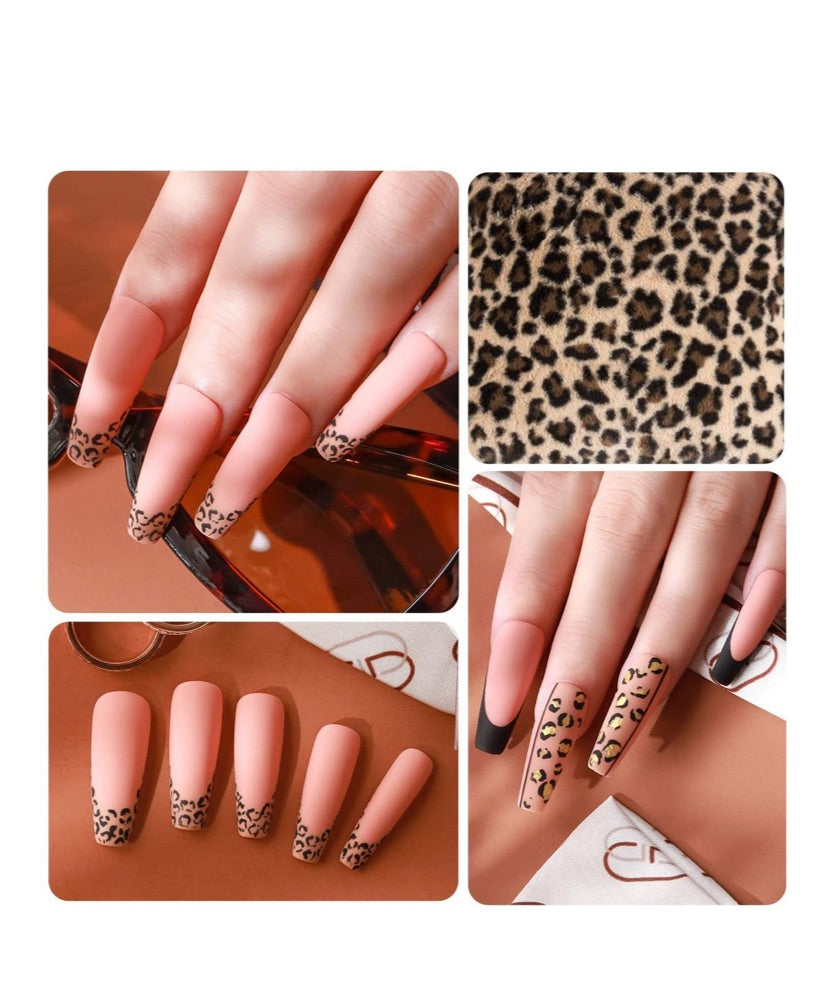
- Vibrant Leopard-Inspired Shades: Eye-catching colors that add a wild touch to your nail look, perfect for any occasion.
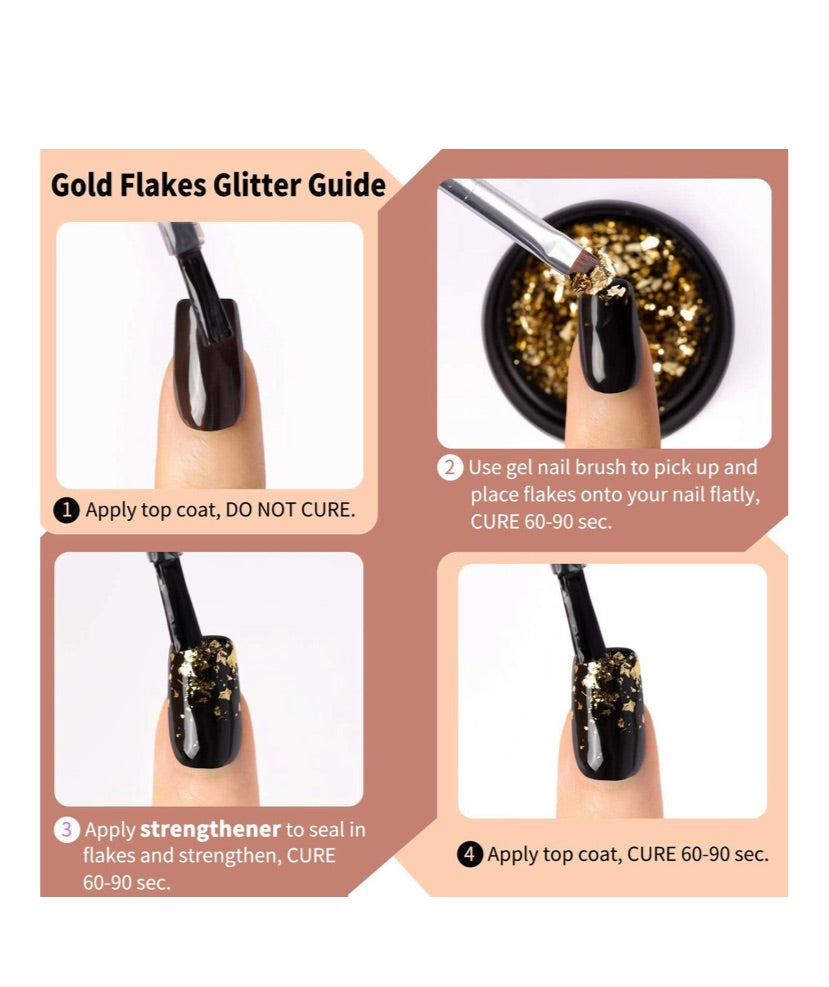
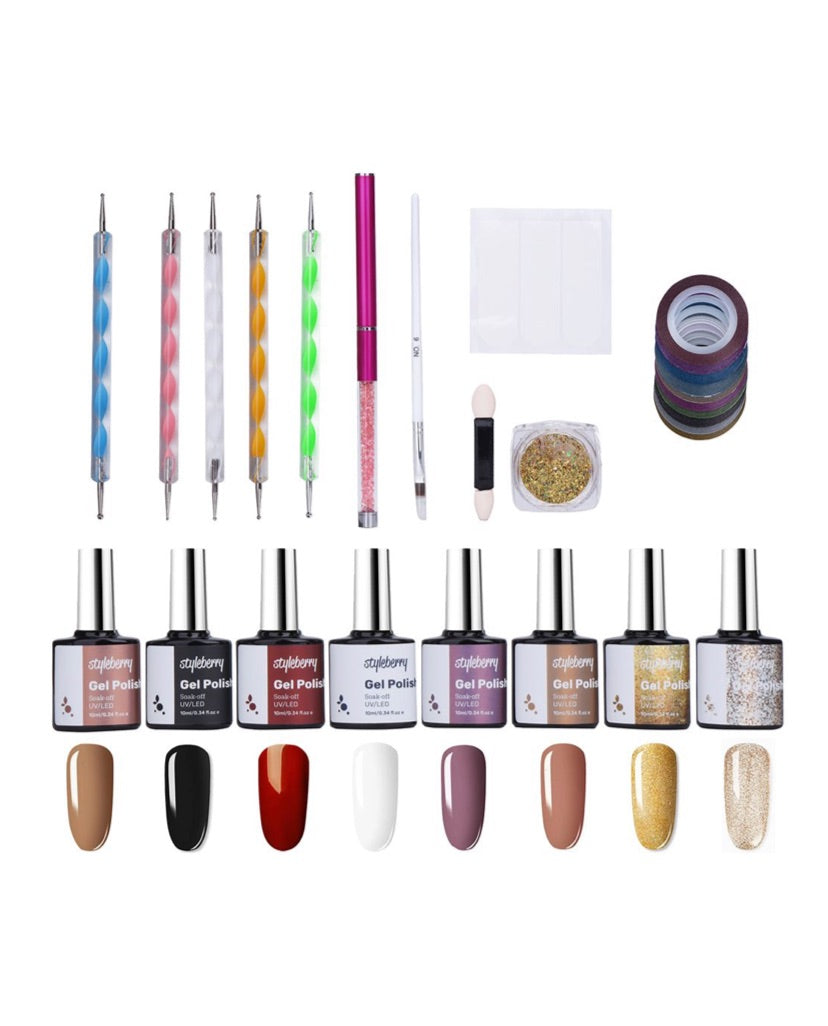
- Complete Nail Art Kit: Includes gel polishes, striping tapes, glitter foils, art pens, and guides for endless creative designs.
- Long-Lasting & Durable: Resists chipping and peeling for up to 25 days when properly cured under UV or LED light.
- Easy Application: User-friendly formula with step-by-step instructions for professional-quality results at home.
- Safe & Eco-Friendly: Vegan, cruelty-free, and non-toxic ingredients ensure a stylish yet safe beauty routine.
Transform your nails into a fierce fashion statement today! Whether you're a nail art enthusiast or just starting, this comprehensive set offers everything you need for stunning, leopard-inspired manicures. Order now and embrace your wild side with the Styleberry Nail Art Gel Polish Set – Leopard Collection.
Please note: This is a brand-new item, although the packaging may—though not necessarily—be opened or slightly damaged. The product itself is in perfect condition and is priced accordingly to offer excellent value.
